

Welcome to a new tutorial!
I will be showing you how to make a simple fabric storage pot from a prepared piece of quilted patchwork or applique. These are a great way to use up small sample pieces or to try out time-consuming techniques on something small.
First of all I want to say a huge thank you to the incredibly talented Mandy Munroe who designed the original pot that I based this on. Mandy and I both contributed items to a bag magazine around 5 years ago and I loved Mandy's pot so much that I have been making versions of it ever since and have taught it in my studio countless times.

You will need:
1. Your prepared piece of quilted patchwork, this needs to be 17½" wide x your desired height.The piece I used for the tall pot here measures 6½" . I good size to start with would be 4" or anything between these two sizes.
2. A piece of lining measuring 17½" wide x half an inch more than your prepared piece, so this piece is 17½" wide x 7" high (so if you used a 4" main piece your lining would be 4½" high).
3. Two circles measuring 6" in diameter, one for the bottom and one for the lining.
4. A CD wadding sandwich! This is an old CD with a circle of wadding (batting) glued to either side. The wadding circle is a little bigger than the CD rather than the exact same size. I place my CD on to a double layer of wadding scraps and cut roughly around using my rotary cutter.

Let's take a closer look at the prepared quilted piece that I made a few weeks back and posted about here.

I hand sewed this applique design then basted it to a piece of wadding (no backing necessary) and then hand quilted it using Aurifil 12wt thread in a number of colours. Previously I have made scrappy strip versions and machine quilted them in lines. I teach a Flying geese version and we machine quilt around the triangles. So basically any fabric (could be 'wholecloth') that you baste to wadding (you can even get away with just a good press to adhere the wadding until quilting is finished) and then either hand or machine quilt to secure.

If you want to make the pot without quilting then I suggest you use iron on interfacing to back your main fabric.
You will see from these two photos that I started with slightly larger amounts of fabric and wadding and then trimmed to the exact width of 17½" once quilting was finished,

Method:
First of all lay the long edge of your lining on top of the long edge of your main quilted piece, right sides together (RST) and lining it up to what will be the top edge of your pot. Pin if you wish. Sew a quarter inch seam.

We will use a quarter inch seam throughout so if I don't mention that again just assume!

Fold this over, RST, so that your shorter egdes line up, and pin, making sure the seams (that you just sewed) meet

Sew to make a tube. Press seams open.

Fold over so that you seams are at one end and fold again so that the first fold meets your sewn seam line. Press to give 'quarter of the tube' guide lines.
Fold both of your circles into four and press to give you quarter circle guideline

Make a mark on the wrong side of one of the circles (the one that will be inside the pot) at one of the fold lines (in the seam allowance). Make another mark half way between the next quarter along, basically giving you a third of the circle that you will use as an opening

Begin by pinning the unmarked circle to the base of the tube, RST, matching up the fold guidelines on the circle and the tube. Place four pins at those folds to start with, then add an extra pin or two between each quarter.

If you have one press the 'needle down' button on your sewing machine.

Carefully and slowly sew around the base of the pot, easing as you go and making sure you keep both raw edges together the whole way around.
Repeat with the marked circle, matching and pinning to the other end of the tube and sewing around as before BUT this time leave the third of the circle between the two marks open. Reverse or lock stitch at either end of this seam.

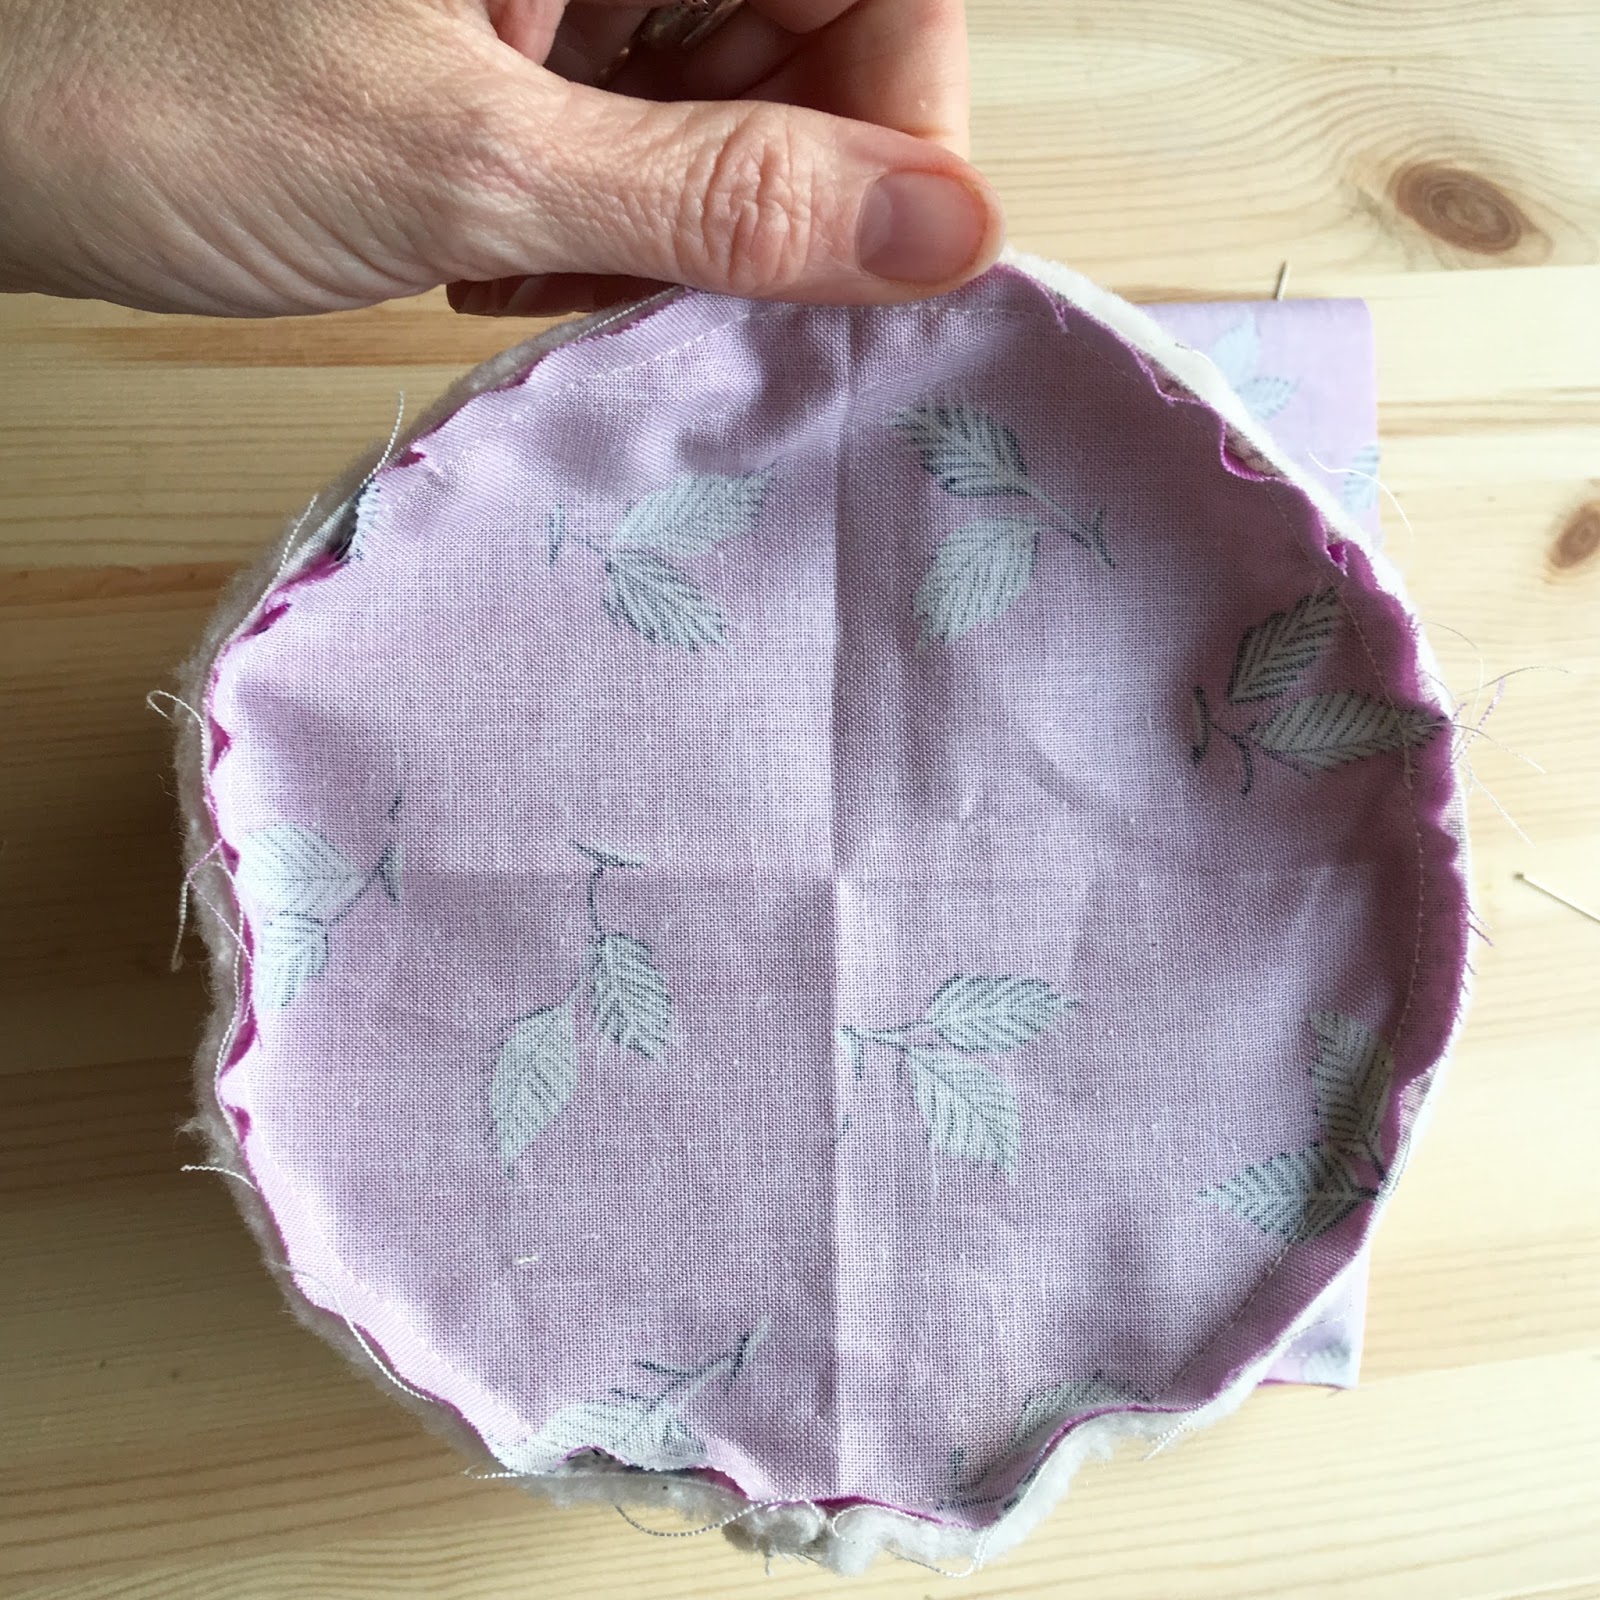
Now 'birth' your pot by pulling through the opening and turning the right side out.

Pop in you CD sandwich and nestle it into the bottom of the pot.
Fold under the edges at the opening to match the seam and pin closed.

At this point you can hand stitch this closed using a neat slip stitch or ladder stitch.

But if you are in a hurry or just lazy (like me!) take it to your machine and sew a neat top stitch, close to the edge, to close the gap.

Push the lining inside the pot. You will have a nice edging around the top of the pot, caused by the extra half an inch of lining.
The final touch is to top stitch just below this edge on the right side of your pot.

I like to increase my stitch length to 3.5 for this.
Oooh just look at those pretty Aurifil 12wt threads all in a line!

And that is it finished!
You can also fold over the top of the pot to give a slightly different look (one that doesn't really work with this pot as it hides the applique design, but might work with another design).

These are a lovely 'quick and easy' make, perfect for a gift or a gift holder. I like to fill them with sewing supplies or toiletries (depending on the recipient)
They are also so useful in the sewing room! I fill them with thread spools, tools and also selvedges that I collect for one of my students. And of course they work as a thread catcher too - something I have never actually used myself as I like to think of my whole body and all my clothes as a thread catcher ;)

I do hope you enjoyed this tutorial. Please credit me if you use it and link back to this post if possible. Also go and say a huge thank you to Mandy for her fab original idea!
I love this idea, thank you for an easy to understand tutorial. These will be made lot of times next year as birthday presents.
ReplyDeleteThanks for the tutorial. It's a great idea for a swap item so I hope to make one soon.
ReplyDeleteThanks for that Jo, great technique. You made me choke over my coffee with your thread catcher comment, I tend to favour that look too.��
ReplyDeleteThis is Fantastic! I love your style, colours and details! Always so inspiring! x Teje
ReplyDeleteJo, could you please add this under your tutorials link so that I can find it in the months to come! Great tutorial by the way.
ReplyDelete"Fullz & Tools Vendor Here"
ReplyDeleteHigh Credit Scores Fullz (700+)
CC Fullz With SSN Details
SSN/DOB/DL Fullz/Leads/Pros
Business EIN Fullz
Dumps with Pins (Track 101/202)
ICQ/Tel.Gram / @killhacks
Wickr/Skype / peeterhacks
Carding Tools & Tutorials with Cash out Methods
Spamming Complete package including every Tools with Guides
Hacking Stuff (Tutorials, Tools, Ebooks, Video Tuts)
Combos/Logs
PayPal Logs
I.P's/Proxies
SMTP's/RDP's/Shells/C-panels
Mailers/Senders/Bomber
Rat's/Viruses/Key.loggers
SQLi Injector/Server Penet-ration
Office 365 Leads/Logins
Premium Logs (Amazon, Netflix, E-bay, Coinbase)
Kali Linux Master Class
Fr**D Bi**e 2021/2022
D**p/D**k Web Complete Course
Onion Valid/Latest Links
FB/WA Hack-ing Tips & Tricks
Genuine Stuff Will Be Provided
Testing only for genuine buyers for bulk order
Invalid stuff will be replaced
peeterhacks / Wickr+Skype
752822040 / I.C.Q
@leadsupplier / Tel;Gram
You can contact anytime
We are available for you 24/7