Pages
Showing posts with label aurifil. Show all posts
Tuesday, 14 November 2017
Newsy stuff!
I have exciting news for all my blog readers! Sometimes I don't get around to to announcing stuff here that's already been shared on social media, but this first bit of news is a big deal so I want to share it as much as possible!
I am one of the Aurifil 2018 Design Team!
This means I get to design one of the blocks in the Aurifil Block of the Month next year! Hooray! I absolutely love the theme and my mind is already buzzing with ideas. Which is a good job as I am up quite soon as my month is March!
And look at that crowd of awesome quilters! I can't quite believe I am included in such a group, I feel incredibly honoured.
The whole thing is hosted by quilting legend, Pat Sloan, who is just as warm, friendly and fun as she looks in her photos. Each Month Pat interviews the designer and participants have one month to make the block and enter at her website to be in the running to win a BOX of thread!
You can read all about it on the Aurifil blog here. And I'll post more about it in the New Year when it starts so you can all join in if you like!
My second bit of news is that I have been nominated in two categories for the British Craft Awards!
Last year I won second and third prize in the Best Quilt Blog and Best Quilt Designer categories respectively, which was a huge thrill! I have been nominated for both categories again and if you'd like to vote for me please click here and choose the quilting category. Voting closes Sunday 17th December, so you have a bit of time yet. By voting you will also get the chance to win £600 of Amazon vouchers!
Thank you so much in advance if you do take the time to vote for me, I really appreciate your support!
Labels:
aurifil,
awards,
BOM,
british craft awards,
news
Thursday, 2 November 2017
Fabric Storage Pot Tutorial
Welcome to a new tutorial!
I will be showing you how to make a simple fabric storage pot from a prepared piece of quilted patchwork or applique. These are a great way to use up small sample pieces or to try out time-consuming techniques on something small.
First of all I want to say a huge thank you to the incredibly talented Mandy Munroe who designed the original pot that I based this on. Mandy and I both contributed items to a bag magazine around 5 years ago and I loved Mandy's pot so much that I have been making versions of it ever since and have taught it in my studio countless times.
You will need:
1. Your prepared piece of quilted patchwork, this needs to be 17½" wide x your desired height.The piece I used for the tall pot here measures 6½" . I good size to start with would be 4" or anything between these two sizes.
2. A piece of lining measuring 17½" wide x half an inch more than your prepared piece, so this piece is 17½" wide x 7" high (so if you used a 4" main piece your lining would be 4½" high).
3. Two circles measuring 6" in diameter, one for the bottom and one for the lining.
4. A CD wadding sandwich! This is an old CD with a circle of wadding (batting) glued to either side. The wadding circle is a little bigger than the CD rather than the exact same size. I place my CD on to a double layer of wadding scraps and cut roughly around using my rotary cutter.
Let's take a closer look at the prepared quilted piece that I made a few weeks back and posted about here.
I hand sewed this applique design then basted it to a piece of wadding (no backing necessary) and then hand quilted it using Aurifil 12wt thread in a number of colours. Previously I have made scrappy strip versions and machine quilted them in lines. I teach a Flying geese version and we machine quilt around the triangles. So basically any fabric (could be 'wholecloth') that you baste to wadding (you can even get away with just a good press to adhere the wadding until quilting is finished) and then either hand or machine quilt to secure.
If you want to make the pot without quilting then I suggest you use iron on interfacing to back your main fabric.
You will see from these two photos that I started with slightly larger amounts of fabric and wadding and then trimmed to the exact width of 17½" once quilting was finished,
Method:
First of all lay the long edge of your lining on top of the long edge of your main quilted piece, right sides together (RST) and lining it up to what will be the top edge of your pot. Pin if you wish. Sew a quarter inch seam.
We will use a quarter inch seam throughout so if I don't mention that again just assume!
Fold this over, RST, so that your shorter egdes line up, and pin, making sure the seams (that you just sewed) meet
Sew to make a tube. Press seams open.
Fold over so that you seams are at one end and fold again so that the first fold meets your sewn seam line. Press to give 'quarter of the tube' guide lines.
Fold both of your circles into four and press to give you quarter circle guideline
Make a mark on the wrong side of one of the circles (the one that will be inside the pot) at one of the fold lines (in the seam allowance). Make another mark half way between the next quarter along, basically giving you a third of the circle that you will use as an opening
Begin by pinning the unmarked circle to the base of the tube, RST, matching up the fold guidelines on the circle and the tube. Place four pins at those folds to start with, then add an extra pin or two between each quarter.
If you have one press the 'needle down' button on your sewing machine.
Carefully and slowly sew around the base of the pot, easing as you go and making sure you keep both raw edges together the whole way around.
Repeat with the marked circle, matching and pinning to the other end of the tube and sewing around as before BUT this time leave the third of the circle between the two marks open. Reverse or lock stitch at either end of this seam.
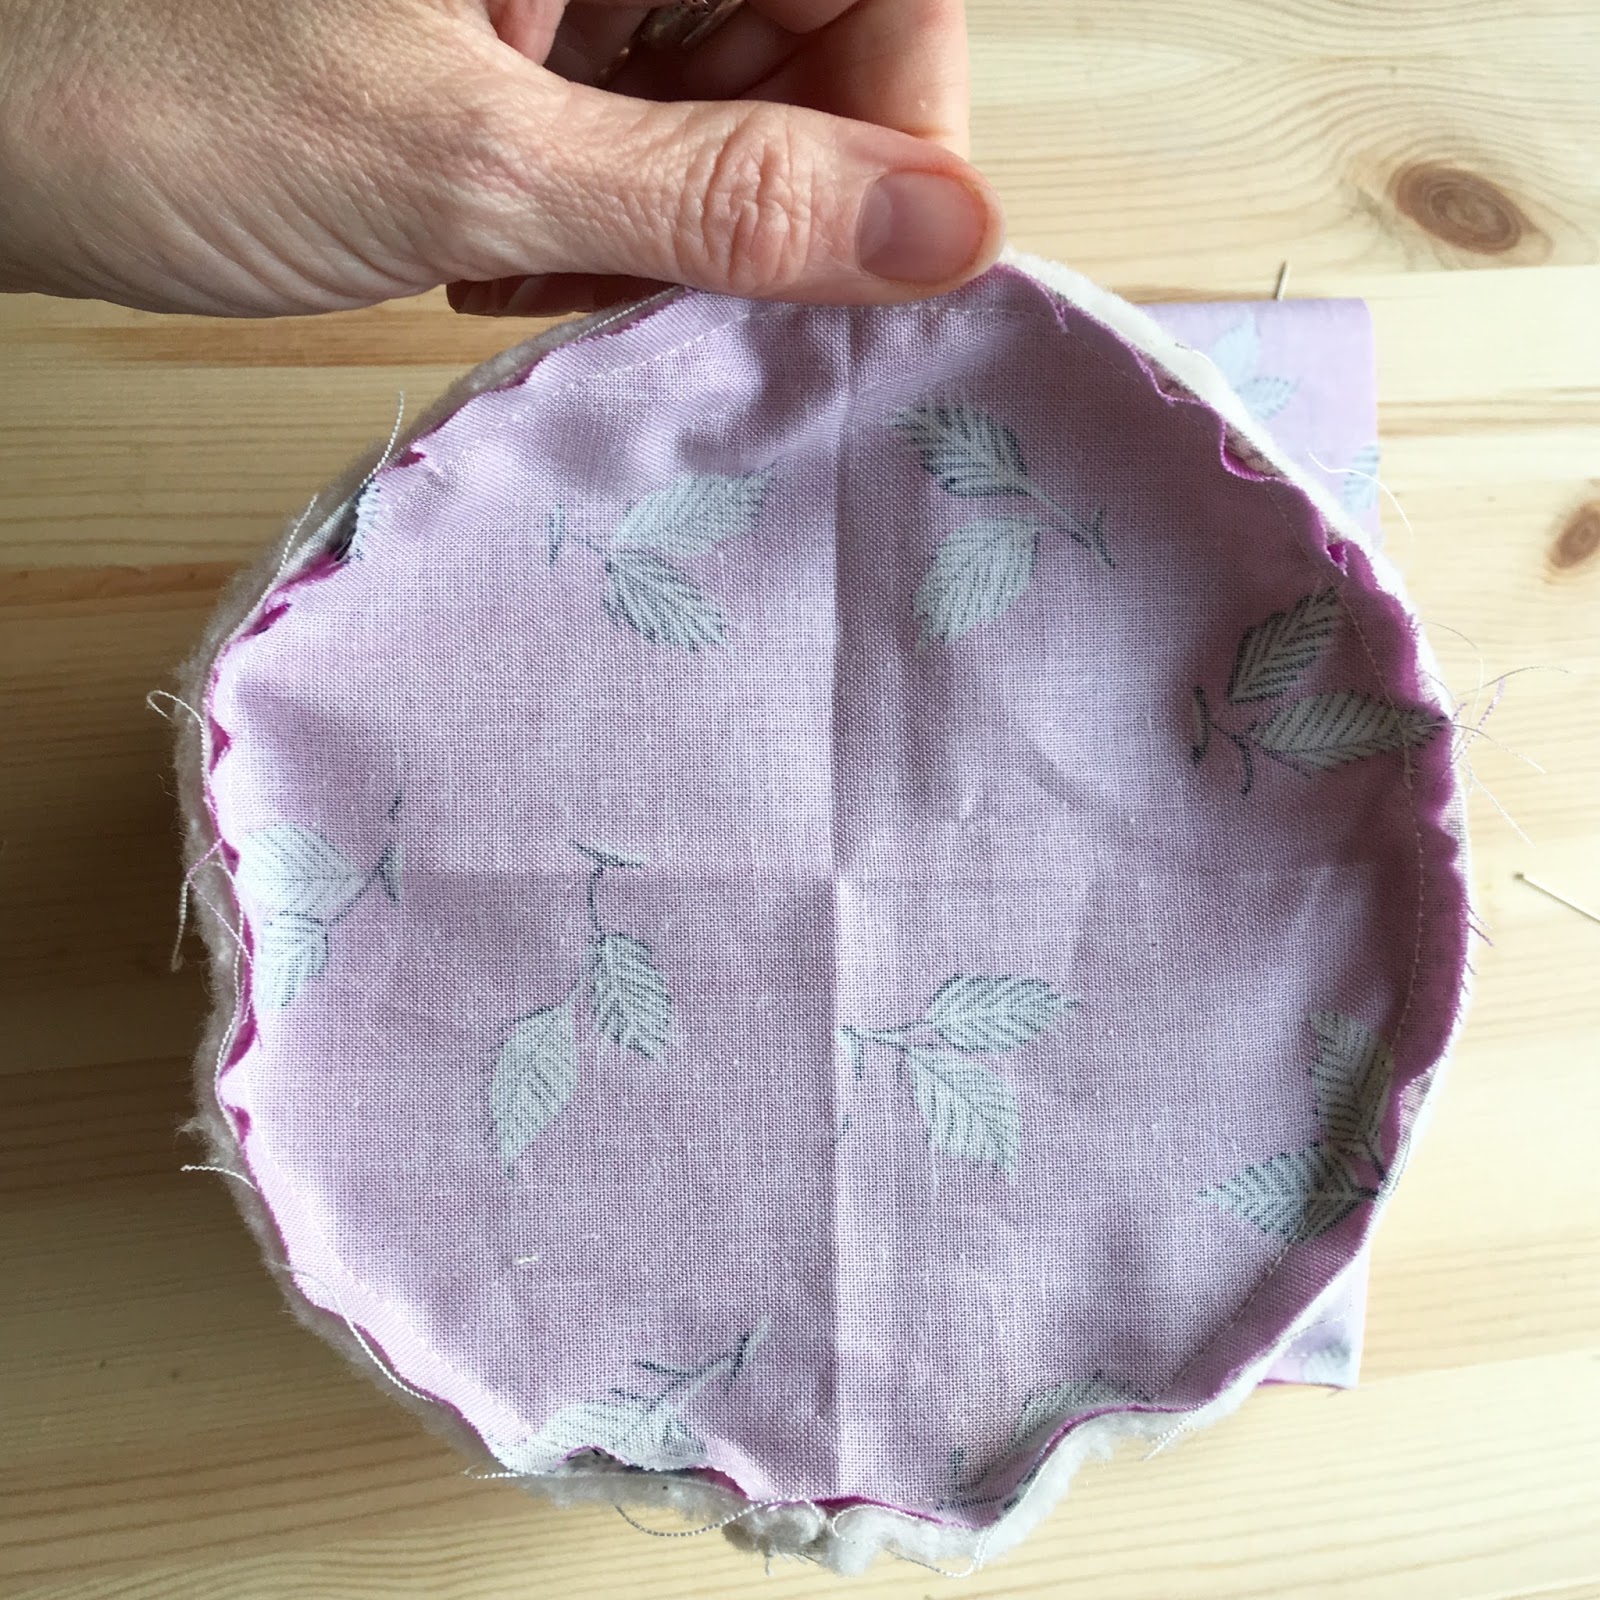
Now 'birth' your pot by pulling through the opening and turning the right side out.
Pop in you CD sandwich and nestle it into the bottom of the pot.
Fold under the edges at the opening to match the seam and pin closed.
At this point you can hand stitch this closed using a neat slip stitch or ladder stitch.
But if you are in a hurry or just lazy (like me!) take it to your machine and sew a neat top stitch, close to the edge, to close the gap.
Push the lining inside the pot. You will have a nice edging around the top of the pot, caused by the extra half an inch of lining.
The final touch is to top stitch just below this edge on the right side of your pot.
I like to increase my stitch length to 3.5 for this.
Oooh just look at those pretty Aurifil 12wt threads all in a line!
And that is it finished!
You can also fold over the top of the pot to give a slightly different look (one that doesn't really work with this pot as it hides the applique design, but might work with another design).
These are a lovely 'quick and easy' make, perfect for a gift or a gift holder. I like to fill them with sewing supplies or toiletries (depending on the recipient)
They are also so useful in the sewing room! I fill them with thread spools, tools and also selvedges that I collect for one of my students. And of course they work as a thread catcher too - something I have never actually used myself as I like to think of my whole body and all my clothes as a thread catcher ;)
I do hope you enjoyed this tutorial. Please credit me if you use it and link back to this post if possible. Also go and say a huge thank you to Mandy for her fab original idea!
Friday, 13 October 2017
A Month in the Country BOM Quilt - Ta dah!
I'm so delighted to be able to share my finished A Month in the Country quilt from my year long Block of the Month in Today's Quilter!
It's in the new issue, number 28, which came out yesterday. Unfortunately my copy hasn't arrived yet but I can share some of the lovely images from the mag.
Stitch Gathering attendees got a special exclusive viewing at the event on Sunday. Here it is hanging behind our pop-up shop.
This is a very personal quilt for me as it charts our life here at Shangri la Farm through the four seasons. There is also a lot of hand applique in the blocks so I wanted to give it a proper heirloom treatment when it came to quilting.
I didn't think my poor old hands were up to hand quilting the whole thing so I began by FMQing a selection of leaves over all the sashing strips (Kona Snow).
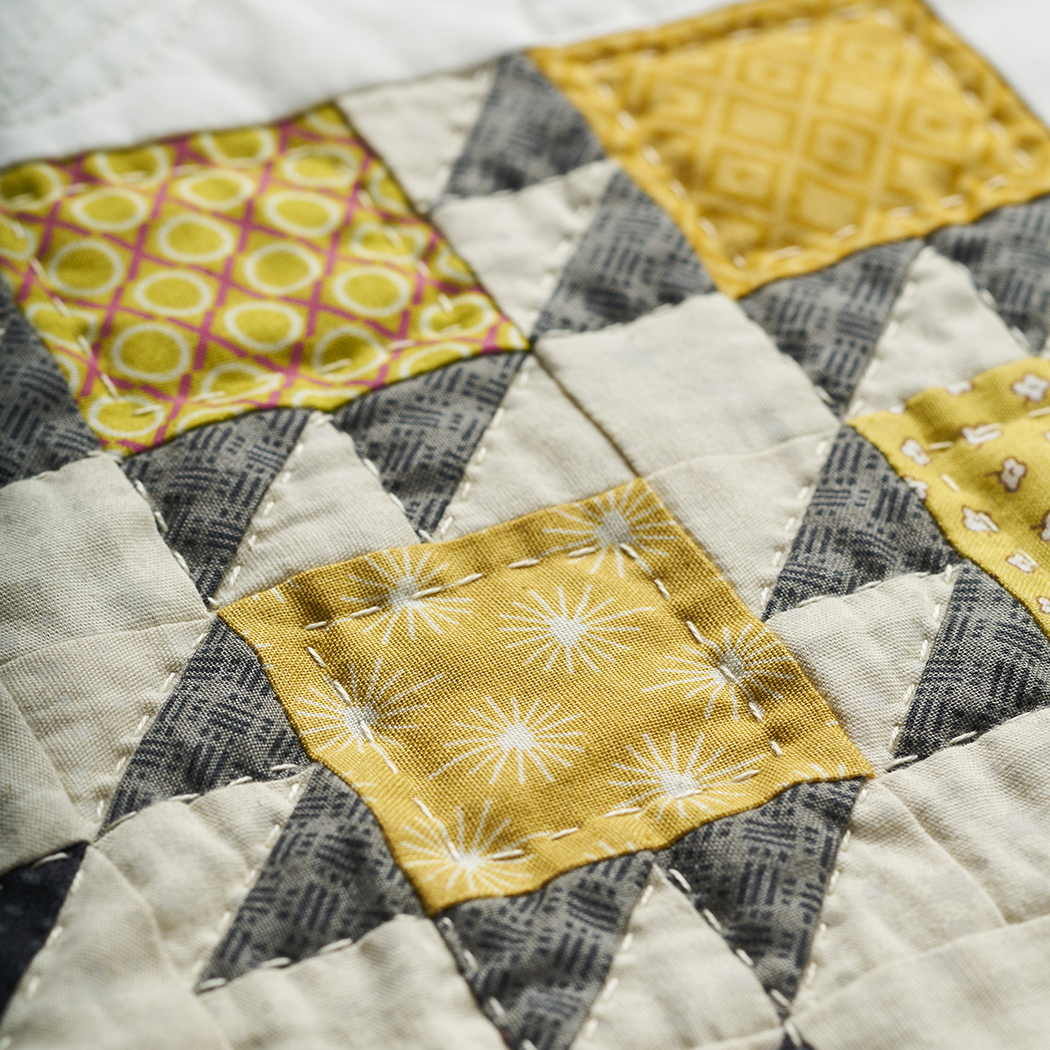
I then hand quilted all the blocks as much as I could with Aurifil 12wt threads in subtle shades, mainly by outlining the motifs.
I love all the birds depicted, I feel inspired to do a bird applique for a workshop next year, what do you think?
I used a Heather Ross Mendocino print (with fishes) for the backing, which seemed appropriate with all the wildlife on the front!
Action shot below of me finishing the binding.
I didn't manage to get any decent outside photos (but luckily the magazine did that gorgeous styled garden shot above!) before I had to send this off, but I did take this one on our bed.
Jonathan says this is his favourite of all the quilts I have ever made - praise indeed! It's definitely a bit special to me too.
And I'm hoping to turn this into a series of course at myBearpaw Studio next year, so watch this space!
Did you sew along with this BOM? Do you have a finished quilt to share? Please send me an image if you do, I would love to feature it here!
Meanwhile I have news! I will be following this Today's Quilter BOM with a new Block of the Month that starts next month!!!
And this time I will be running a Quiltalong too! Look out for more details next week!
Wednesday, 11 October 2017
Stitch Gathering 2017 GOODY BAG GIVEAWAY!!!

Yes it's that time again! I have kept aside two of the amazing goody bags from this year's event to giveaway!
You can enter one giveaway here on the blog and the other on Instagram!
But let's take a closer look at what you will be winning...
1. From Immediate Media we have a copy of Love Patchwork and Quilting AND Today's Quilter!
2. A bundle of Cori Dantini 'Makers' fabrics courtesy or Blend Fabrics (4 panels!!).
3. 2 balls of Perle Cotton number 8 thread by DMC.
4. A fat quarter of Cloud 9 Fabric.
5. A fat quarter of Dear Stella Fabric.
6. A fat quarter of Sarah Campbell's 'Our Yard' fabric from Micheal Miller.
7. A half metre piece of Joel Dewberry's 'Florabelle' from Free Spirit Fabric.
8. A 30cm (WOF) piece of 'Down by the River' from Lewis and Irene fabric.
9. A fab little Liberty Tana Lawn Scrap Pack from Duck Egg Threads.
10. A 30cm (WOF) piece of fabric from Dashwood Studio
11. A set of spools of all types of Aurifil thread - 7 different threads including 80wt!! Also booklets and shades cards and a cool Aurifil sticker for your sewing machine!
12. A packets of delicious Nairn's Oatcakes.
13. An Aurifil Tote Bag (not pictured).
14. A mini sewing kit from the Sewing Quarter.
15. A chalk lolly courtesy of myBearpaw :)
WOW! What a haul!
A huge thank you to all our Sponsors, both for the goody bags and for the Lucky Dip prizes. We are all so grateful for your support!!
So how do you win all this booty?
Simply leave a comment on this post:
I'd like to know, if you could have your dream teacher, from anywhere around the world come to teach at the Stitch Gathering in 2018 who would you choose?! If you can't think of anything just say hello :) Make sure you leave your email address if you are a 'no-reply' commenter.
That's all you need to do! If you want to increase your chances then head over to Instagram @mybearpaw and enter the giveaway there for the second bag too.
Giveaway will close Tuesday 17th October at midnight. International entries are welcome!
Good luck!
Monday, 2 October 2017
Sneak Peeks and Hand Sewing
I've entered a bit of a frantic period with lots of magazine commissions due all at once, lots of teaching in the studio, and the Stitch Gathering coming up on Sunday - eeek!
Normally I wait until I have lovely finished project to chat about over here, but alas I have nothing finished I can show you at the moment. So instead I thought I would share all the sneak peeks of the secret sewing I have been posting on Instagram, plus some new adventures in hand sewing...
I can't wait to share more about this new project I am working on using Tilda's Harvest fabric (I can in about 5 weeks time!). I haven't worked with Tilda fabric much before and I absolutely love it!
The fabric feels gorgeous and looks so good that I hardly need to do anything to it to make something beautiful. I'm really enjoying using these pretty pastels and more muted shades (for me!).
This was my fabric pull for a new hand sewing project. The palette was inspired by my new Anna Maria Horner collection of Aurifil 12wt threads that I obtained at Festival of Quilts (I won't say bought as it was a freebie 😀)
Here's a sneaky peek at the hand quilting on this project. I loved using the 12wt, it glides through the layers so effortlessly and is easier on my hands than the number 8 I've used previously. I've ordered some for the shop (including the AMH box) and they should be in any day now.
My latest quilt finish uses Denyse Schmidt's new Washington Depot fabric. It's such a fabulous collection, classic DS style and colour, and also available at our online store here!
I'm totally in love with this new quilt and can't wait to show it off (at the end of the year)!
In the meantime I had a little fun with my scraps. I had a rare weekend day off week last Saturday, and made these two improv panels.
Of course you can probably work out by now where this is going...
Yes, another tendril pouch!!
I am acquiring quite a collection!
In fact...
Here comes another one!
Everybody loved the last one I made using Outback Wife fabric so I thought I would try the other design I have in this line, and this time with circles instead of leaves! This fabric is Elaine in orange.
And talking about that rare Saturday off a week or so back... I actually had time to get my paints and brushes out and do a bit of design doodling.
It's something I love to do but never seem to make time for. But I took myself off to the Tiny House and had a blissful afternoon being creative. I was chuffed with the result!
(note to self: MUST DO THIS MORE!)
I liked it so much that I used it as inspiration for this applique hand quilted panel. I am going to turn this into a fabric storage pot, and while I'm at it I plan to turn it into a Tutorial for you all! This will hopefully be later next week, so stay tuned!
It's time for another new project! This is for another magazine and a new one to me. This won't be published till next Spring but there is a fair bit of hand work involved so I've started early.
And also because I was longing to do a bit more applique after finishing that last panel above. I just love appliqueing circles, especially in these bright cheerful colours!
I am really enjoying my hand work at the moment, and my hand and wrist issues seem to be under control. Maybe it's because of all the lovely Aurifil thread I am using along with those super fine Tulip needles?
The right tools can certainly make a lot of difference!
Subscribe to:
Posts (Atom)