Pages

Showing posts with label Kaffe Fassett. Show all posts

Friday, 18 August 2017

Tendrils quilt


It's a long time since I made a quilt with Kaffe Fassett fabric and I had forgotten what an uplifting joyful experience it can be!

This quilt was destined for the issue of Today's Quilter that coincides with Festival of Quilts so it always need to be a bit of a showstopper. And what better fabric than the Kaffe Fassett Collective to obtain that effect!


As you can see it made the cover, as well as the magazine exhibition stand (see my last post for a photo!).


I've been playing around with the idea of appliqueing leaves over patchwork for a while now and had already made this mini with leaves and stems sewn by hand. But that wasn't going to work for me (and my dodgy hands) for a whole quilt.


So this is when I developed my Tendrils Technique that I have been using on a smaller scale for pouches recently. It's what I demonstrated on the Aurifil stand at FOQ (you can still watch that here).

I basically created a patchwork brick wall with the Kaffe fabric and then let the leaves climb up it!


As I'd chosen a mixture of warm and cool fabrics from the range (by Free Spirit) I thought it would look good with a 'temperature' colour wash.


Here's a shot from the magazine. I love how the leaves seem to grow out of the carpet here.


I quilted it with a trailing feather overall FMQ pattern in a neutral shade of Aurifil 50wt. It is so busy that I didn't need the quilting to show up too much, but I love the texture that a feather pattern gives.

I made a mistake with the dimensions and it ended up bigger than I planned at 80 inches. I was annoyed at the time but it actually fits my bed perfectly so I think this may be my new bed quilt for the winter. It is certainly one of my all time favourites already!

Thursday, 13 July 2017

Sewing Quarter - my first appearance...


...is on Saturday!

The Sewing Quarter is a shopping channel focusing completely on sewing (dressmaking and patchwork mainly) which launched in January. I've been 'promised' since the beginning but my distance from the studio (in Birmingham) and trying to sort out projects and kits has meant it's taken this long to get me on!


I went for a screen test in March and this screen shot is from that and from a VT they put together to promote the show, you can watch it on my facebook page here.


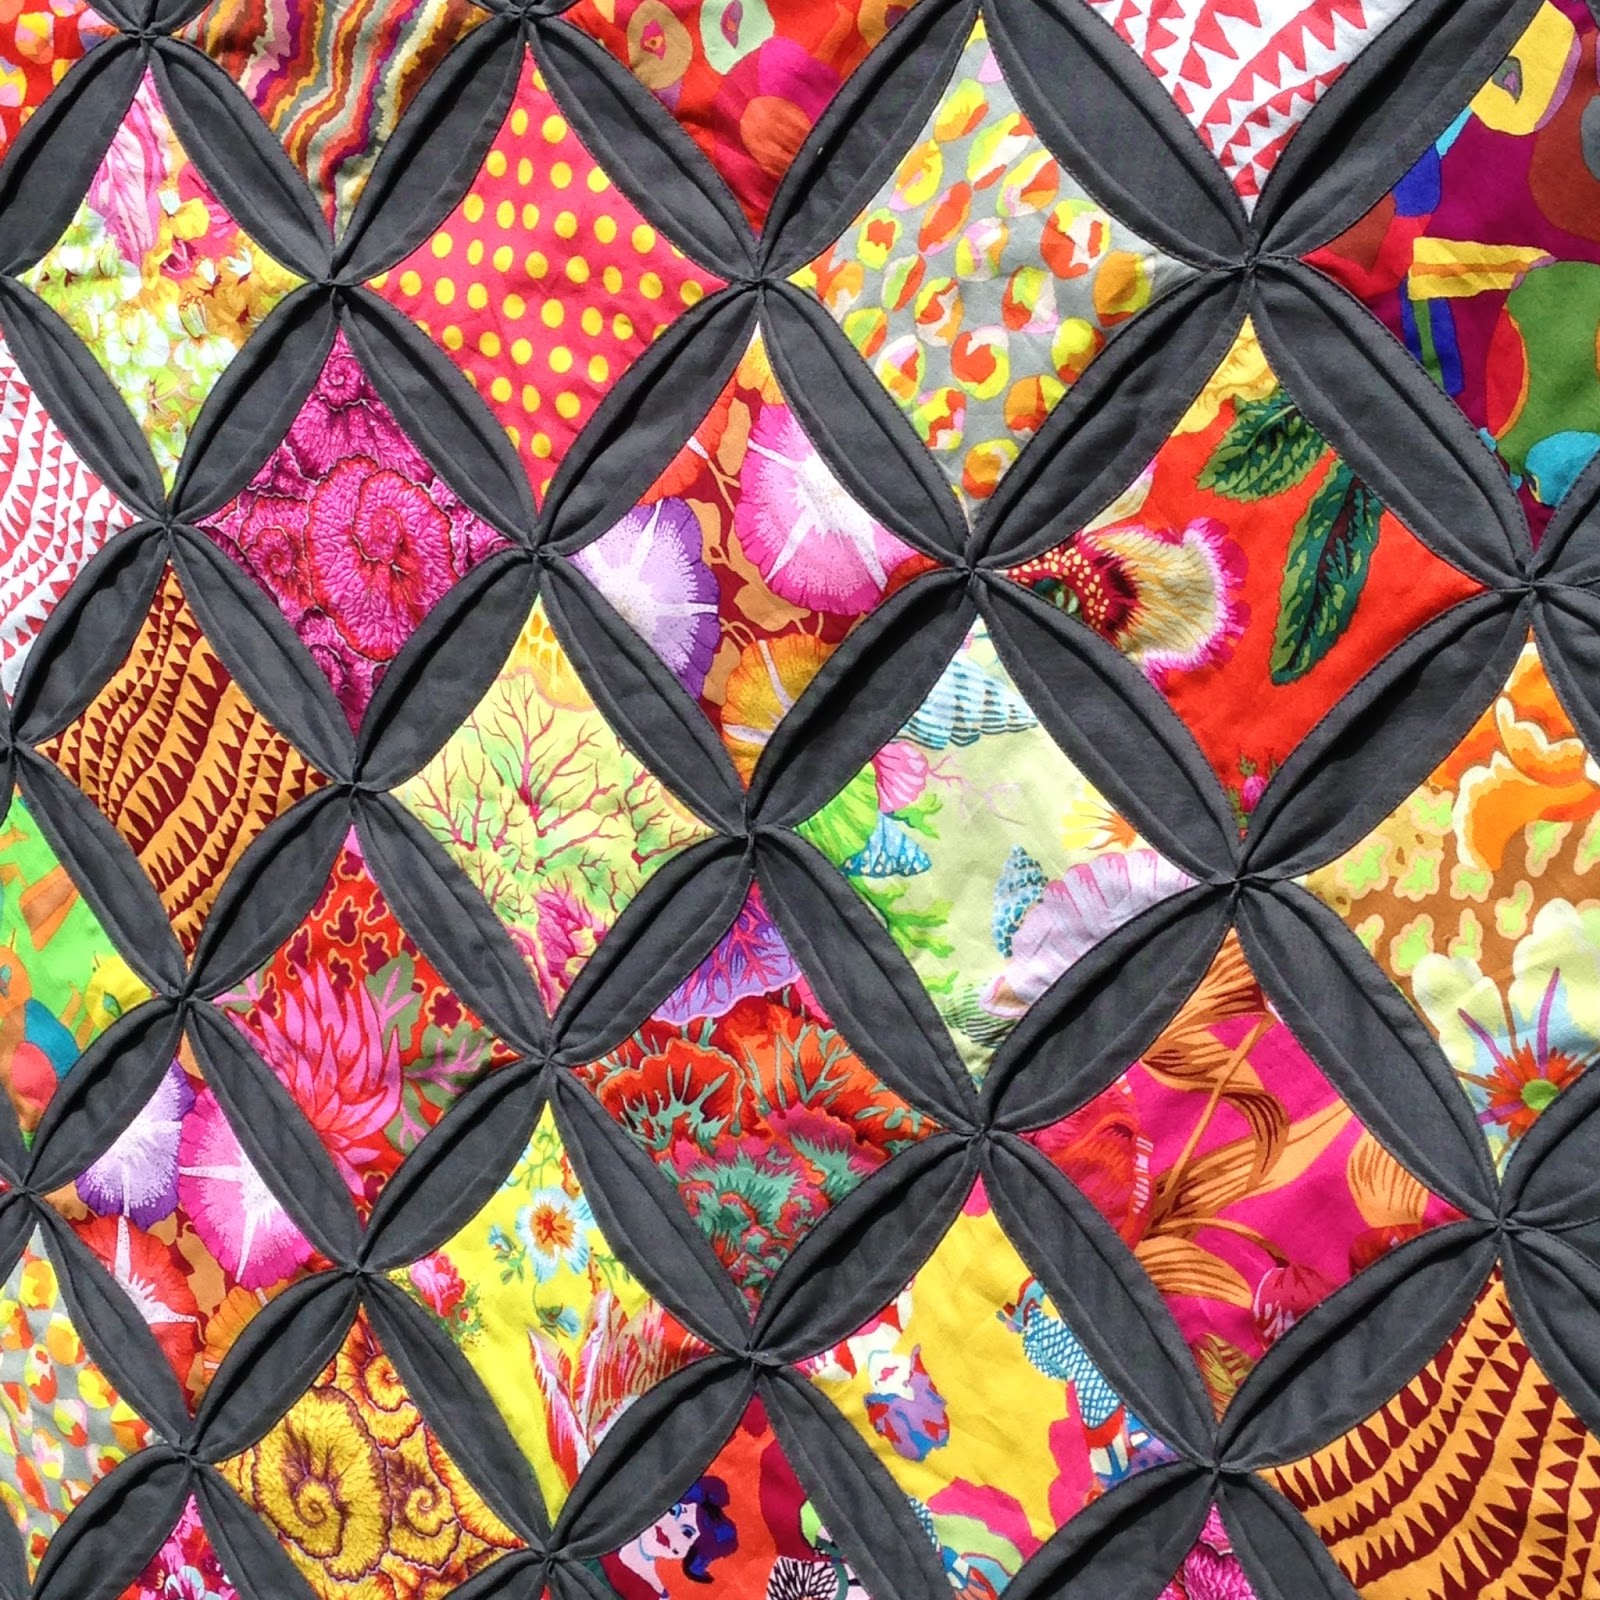
The programme starts at 8.00am on Saturday morning when I will be demonstrating Cathedral Window. They've put together a kit to make this cushion which includes lovely Tilda Circus fabric.


I've just finished making all these samples this week, along with step samples for the programme.


I'll also be showing this larger block version of Cathedral Window. The kit for this one includes this gorgeous Kaffe Fassett 'Sunshine' selection.


This is a small quilt, measuring around 38in square and is based on the Jumbo Cathedral Window I designed previously (but these blocks are a bit smaller).


At 10am I will be doing a second demonstration for my Improv House block using Dashwood Studio's Paper Meadow fabric.


 This one is based on my Homebody Quilt from Love Patchwork and Quilting a couple of years back. Again it is just a small quilt at 40inches.


I had fun with one of my favourite FMQ designs, spiral flowers.


This kit also contains enough fabric to make this cute 14in wall hanging!


So what are you doing on Saturday morning? Fancy learning some new techniques? Maybe buy a kit?! Or just watch to see how I do!!??

If you can't see it then or are overseas you can watch the whole thing on the Sewing Quarter's YouTube channel later in the day.

Wish me luck!!

Monday, 17 April 2017

Butterfly Block Tutorial


It's time for a new tutorial!

How would you like to make a pretty butterfly block that's quick and easy and requires NO foundation paper piecing?! That's right no FPP! It's not that I have anything against FPP but sometimes you want to just rotary cut and sew!


I've been playing with the gorgeous new Kaffe Fassett Spring Collective fabric from Free Spirit and I came up with this block that uses the snowball technique to make a butterfly. 


This is what you need -

Background fabric: (I used a white solid)
ten squares measuring " each
two squares measuring 2" each
two strips measuring " x 4"
two strips measuring 2" x 3½"
one strip measuring 1" x "
one strip measuring 1" x 2"
two strips measuring 2" x 10"

Butterfly fabric:
two squares measuring 3½" and two squares measuring 4" from two different prints
one strip for the body measuring 1" x 4½" (I used a charcoal solid)

You'll also need a pencil or pen, a ruler, a rotary cutter and mat, and of course some Aurifil 50wt thread for piecing.

First of all draw a diagonal line, corner to corner, on the back of all your background " and 2" squares.


Pin a 1½" background square to three of the corners of one of the 3½" butterfly squares, RST, and so that your drawn line cuts across the corner. 


Sew along this line on each  background square.


Trim the outer corners leaving a ¼" seam. You should probably use a ruler but I like to cut freehand with my rotary cutter 😉.


Press then repeat with the other 3½" square and three more 1½" background squares.


Repeat using a 4" butterfly square, two 1½" background squares and one of the 2" background squares. Make two of these.


It's best if you lay them out before you sew them so you can get the triangles in the right corners. That photo above should actually be upside down, but anyway the 4" squares need the 2" triangles to mirror each other.


Next sew the 1½" x 4" background strip on the outer sides of the 4" butterfly blocks and  2" x 3½" strips on the outer sides of the 3½" butterfly blocks.


Sew the two sizes of butterfly wing blocks together (so they mirror each other still). Sew the 1" x 1½" background strip to one end of the body strip and the 1" x 2" background strip to the other end of the body strip.


Sew the body strip between the two wing halves. Then finally sew the 2" x 10" background strips to the top and bottom.


Ta dah!

So that is one butterfly block, but I decided I wanted to make nine blocks and use them for a cot quilt.

To save time I cut a 4½" x 9½"" butterfly body strip and sewed a 1½" x 9½"" background strip to one long side and a 2" x 9½"" background strip to the other. Then I trimmed 1" strips from this to use for the body.


Then I didn't actually sew the 2" background strips to the top and bottom, but instead pieced them in rows which I then staggered and added extra background to before sewing together. I pieced a single butterfly within a wide strip of background and sewed this to the bottom.


Here is the finished quilt!

I wanted to give the effect of a swarm of butterflies lifting off from a bush when disturbed. I also thought that the richly coloured fabrics would look so good against an expanse of white negative space.


It measure 33" x 46" (83 x 118cm), which could be a large cot quilt or even a lap quilt.


This is actually the first quilt I have finished this year so I gave it the full Shangri la Farm photo shoot treatment!


The back is an Amy Butler fabric. There wasn't quite enough so I added a strip of Tula Pink 'Eden'.


I quilted it with a loosely flowing feather and spiral pattern using the same #2000 Aurifil 50wt thread that I had pieced it with. I wanted to keep the purity of the white background and for the quilting to be dense and textural.


The quilt has been washed and tumble dried to give it this lovely crinkly texture (however you can't see the quilting so well now!).


I used another of the Kaffe Fassett Spring Collective fabrics for the border, this one is 'shark's teeth' by Brandon Mably and I think it's perfect for a binding.


These sumptuous, jewel coloured fabrics work so well as butterflies. I have another quilt planned with them soon, and I have enjoyed using them so much (they feel as beautiful as they look!) that I am planning to order some for our store.

Plus check out the Free Spirit blog for news on a new Kaffe e-book available now!


I hope you get a chance to try out your own version of the butterfly block using this tutorial. Please make sure to play nice and always credit me and link back to this post if possible.

Plus I'd love to see them so tag me on social media too please!

Friday, 13 June 2014

Kaffe Fassett Exhibition at The American Museum


Last week I had a few days away with my sister in Bath.
I had wanted to visit the American Museum (just outside Bath) for ages. I had a book of their quilts many years ago and had always longed to view their quilt collection.


This summer they are hosting a Kaffe Fassett Exhibition so it seemed a perfect opportunity to finally make that visit.
A shuttle bus brings you from Bath to the museum and as you get close to the house one of the first things you see are these glorious yarn-bombed lamp shades.


In front of the gallery that houses the Kaffe exhibition is this huge tree completely covered in fabric (Kaffe of course!) lampshades and pom-poms!


With this incredibly bright crochet covering the tree trunk!


There were Kaffe touches all around, like this fabric bunting around the cafe and shop building.


Once inside the building it's the colour saturation that really hits you. The exhibit below was a flavour of Kaffe's studio and inspirations.


Because each area was lit with different colours it was quite difficult to photograph but hopefully the next few photos will give you an idea of the exhibition.


I have been a Kaffe fan for so many years now, first getting in to him through needlepoint. Some of you may know that my first business was as a designer and manufacturer of needlepoint kits and Kaffe was such an inspirartion to me. At that time (25 odd years ago now) he was still producing amazing knitting too.


Having moved on to quilting myself I was delighted when Kaffe got in to this too. I love this blue star quilt above.


There were quite a few of these glass cases around, which not only had all sorts of Kaffe made (or designed) pieces in but also some of the items that had inspired him.


The colours changed from room to room. I love the fact he mixes patterns and crafts. This tumbling log wall hanging was all needlepoint rather than patchwork.


It was wonderful to see all his craft pieces mixed together: quilts, knitting and needlepoint/tapestry.


This green tableau was my favourite, I've always loved his cabbage designs.


This large flower wall hanging was worked in long and short stitches, it's huge! All of the textiles in this room made me long to try my hand at needlepoint again.
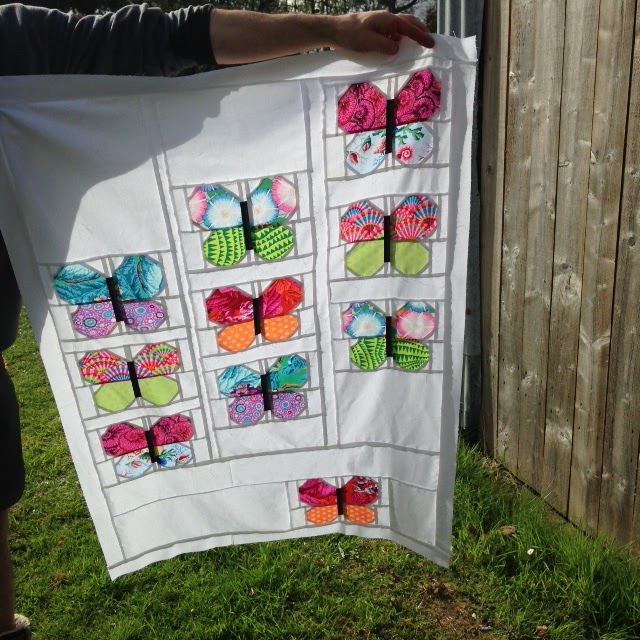

After all that intense colour it was lovely to see some Kaffe pieces hanging in the main museum including this stunning and massive quilt.


So much to look at in this piece!


Of course I made sure I had time to view the American Museum's quilt collection before I left.


And as always when I am looking at old quilts I am so amazed at how modern they all look!


And also how beautiful and tiny the hand quilting is.


The quilts were displayed behind perspex in large flapping 'poster' hangers that you could swing back and forth. Hence the reflections on the photos.


How modern is this one above?!


They have a really stunning collection which is well worth a visit on it's own. Plus the museum is really fascinating in itself.


In the foyer of the main building were 2 large flower boxes each under a Kaffe fabric design orirginal framed print.


All of the flowers and leaves had been made from fabric or wool!


Here is a close up of the fabric design original, my favourite cabbages again.

I loved my visit to Bath, what a beautiful city, and the highlight was definitely this trip to the American Museum and the Kaffe Fassett exhibition. I hope you enjoyed your virtual tour along with me.
Details about the exhibition and museum here.